
Printable tracing worksheets
Free handwriting tracing. Practice and print.
By difficulty
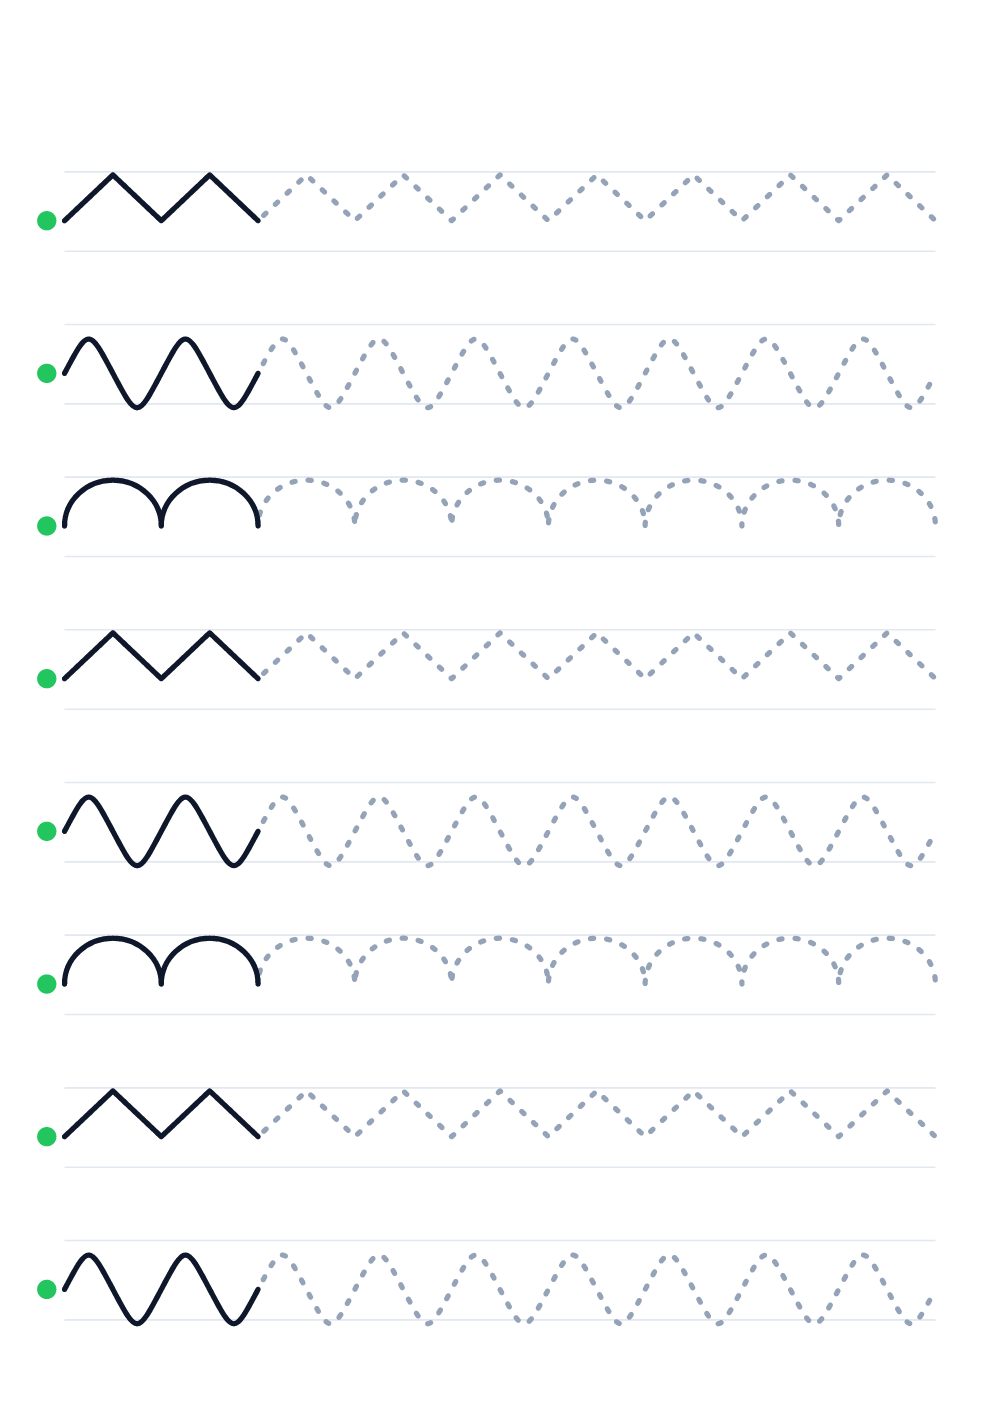
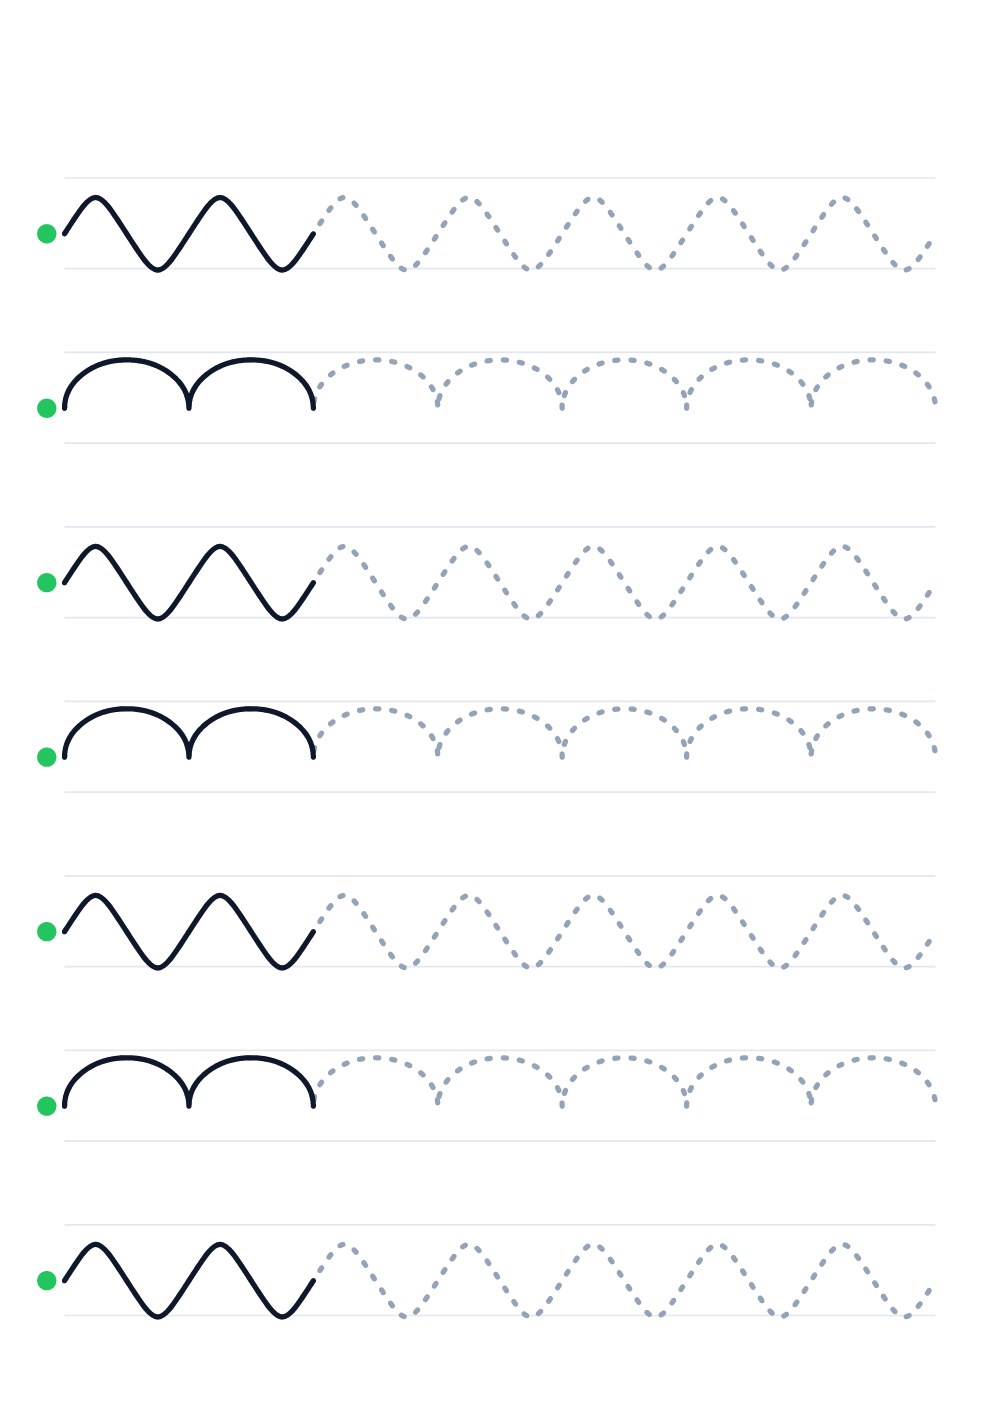
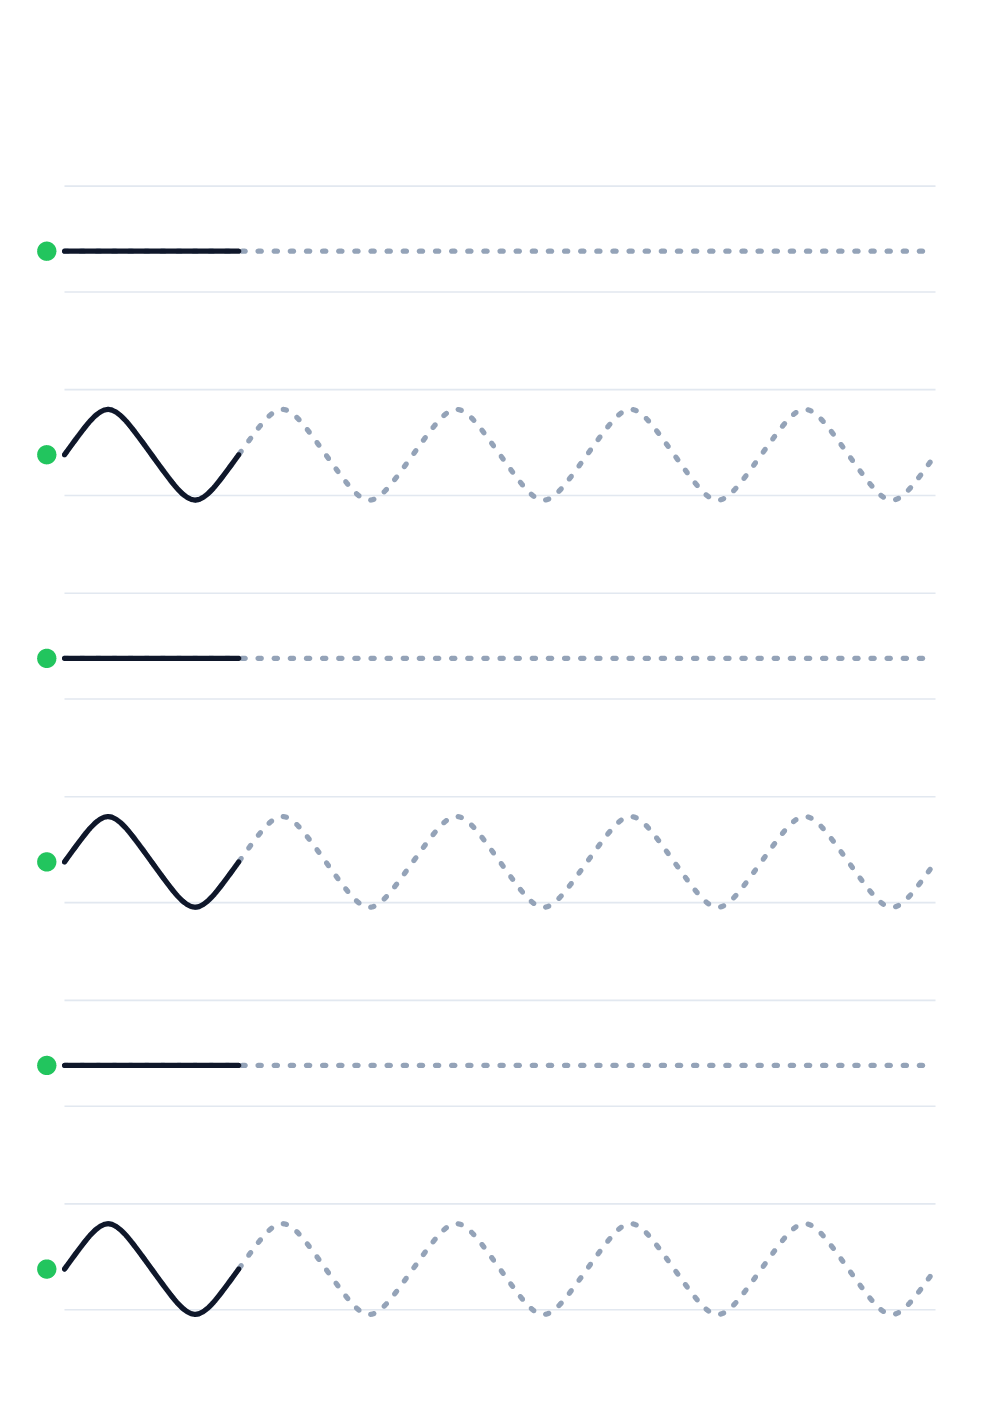
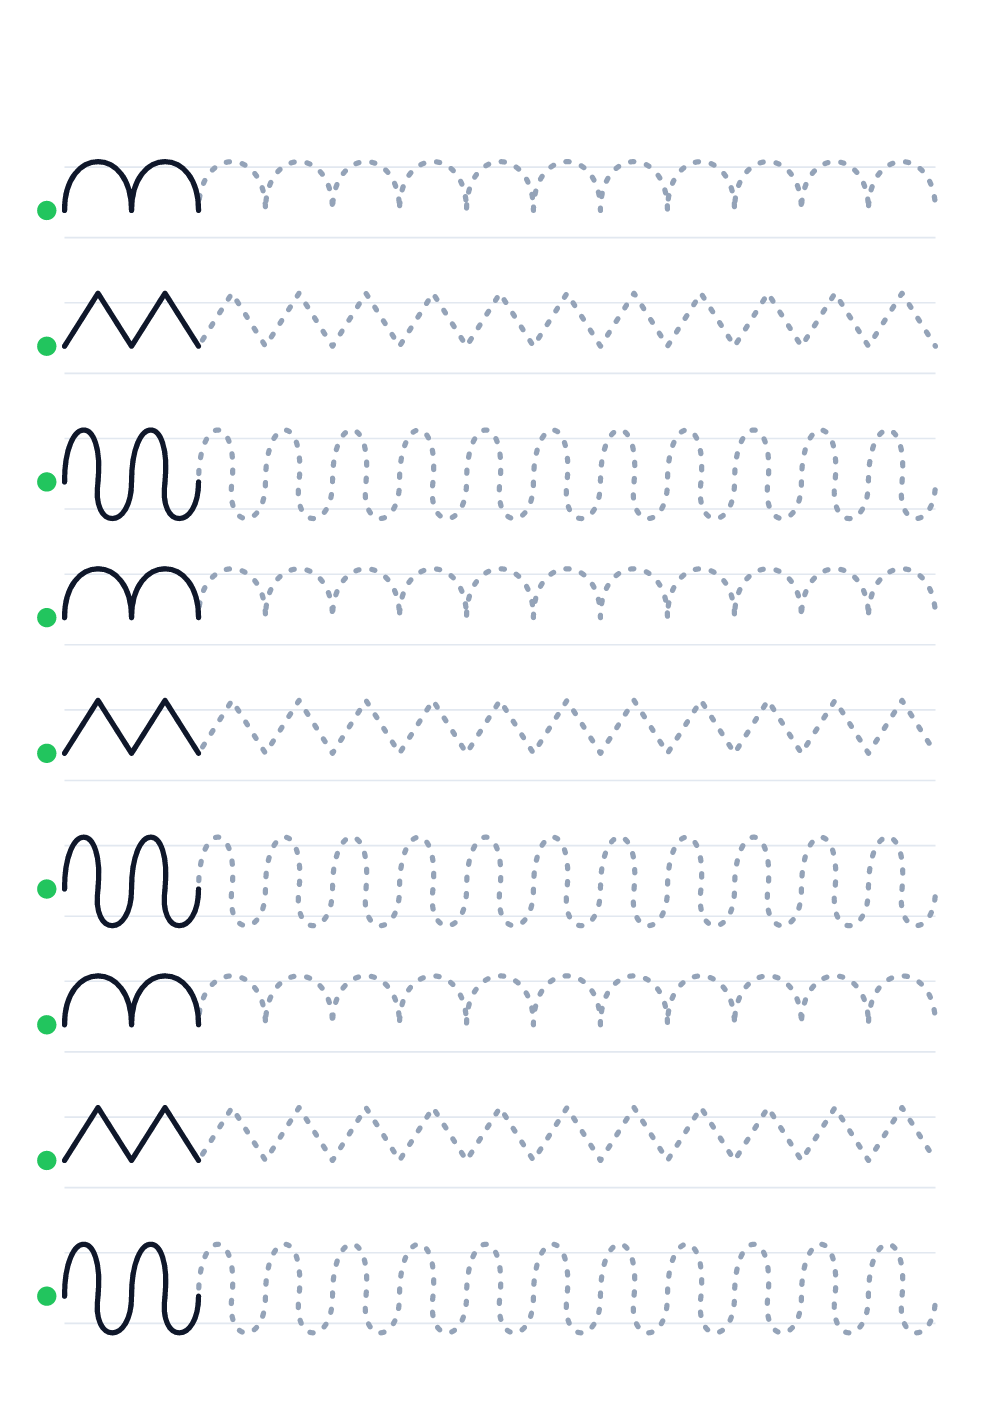
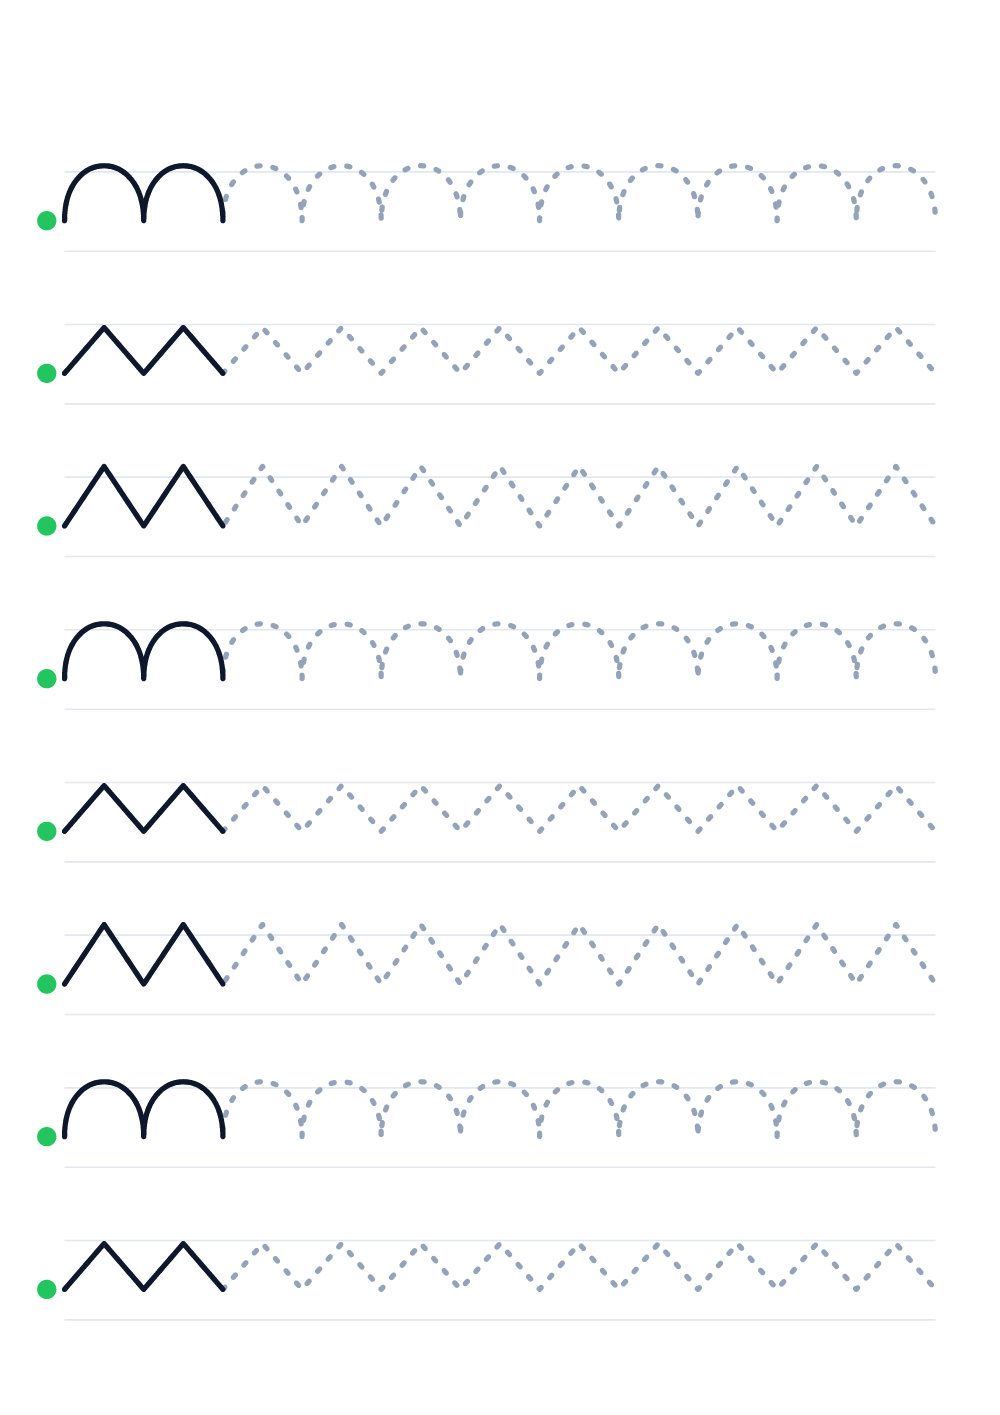
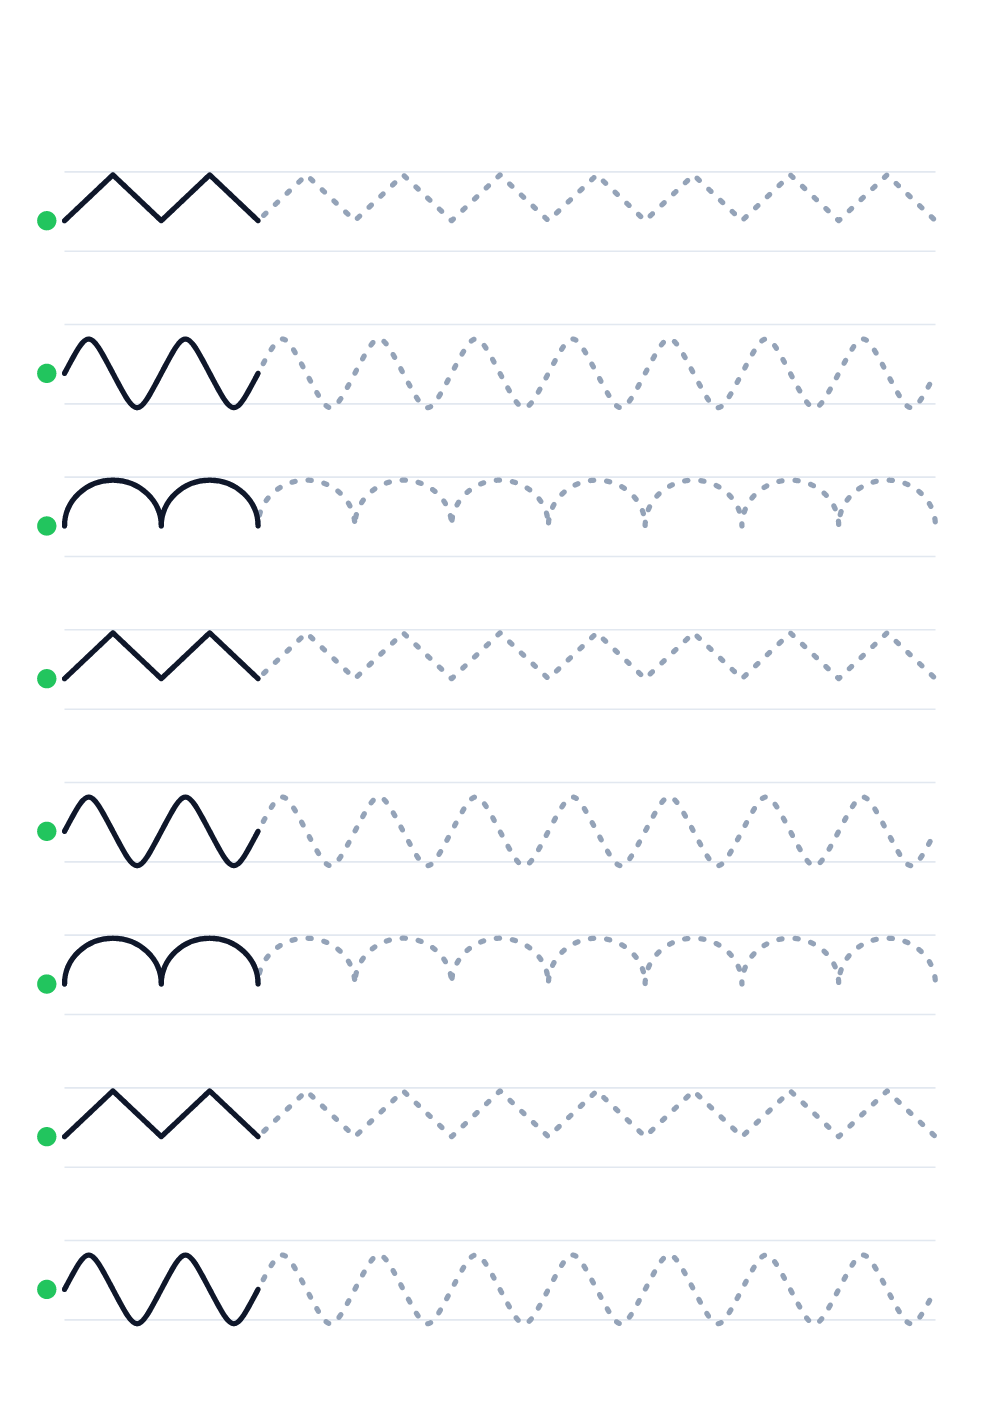
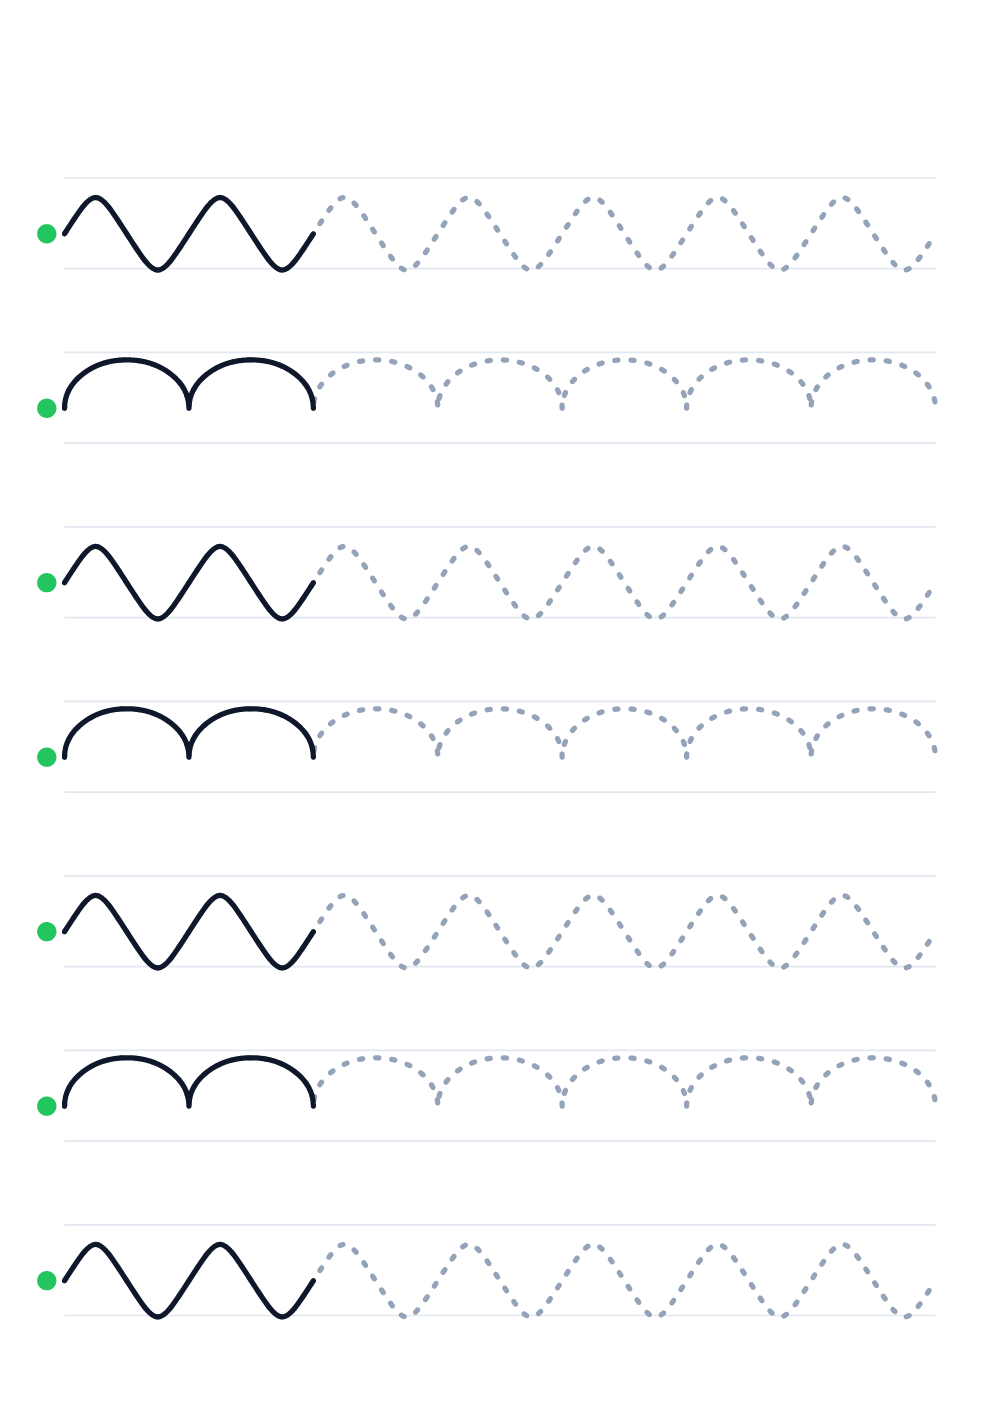
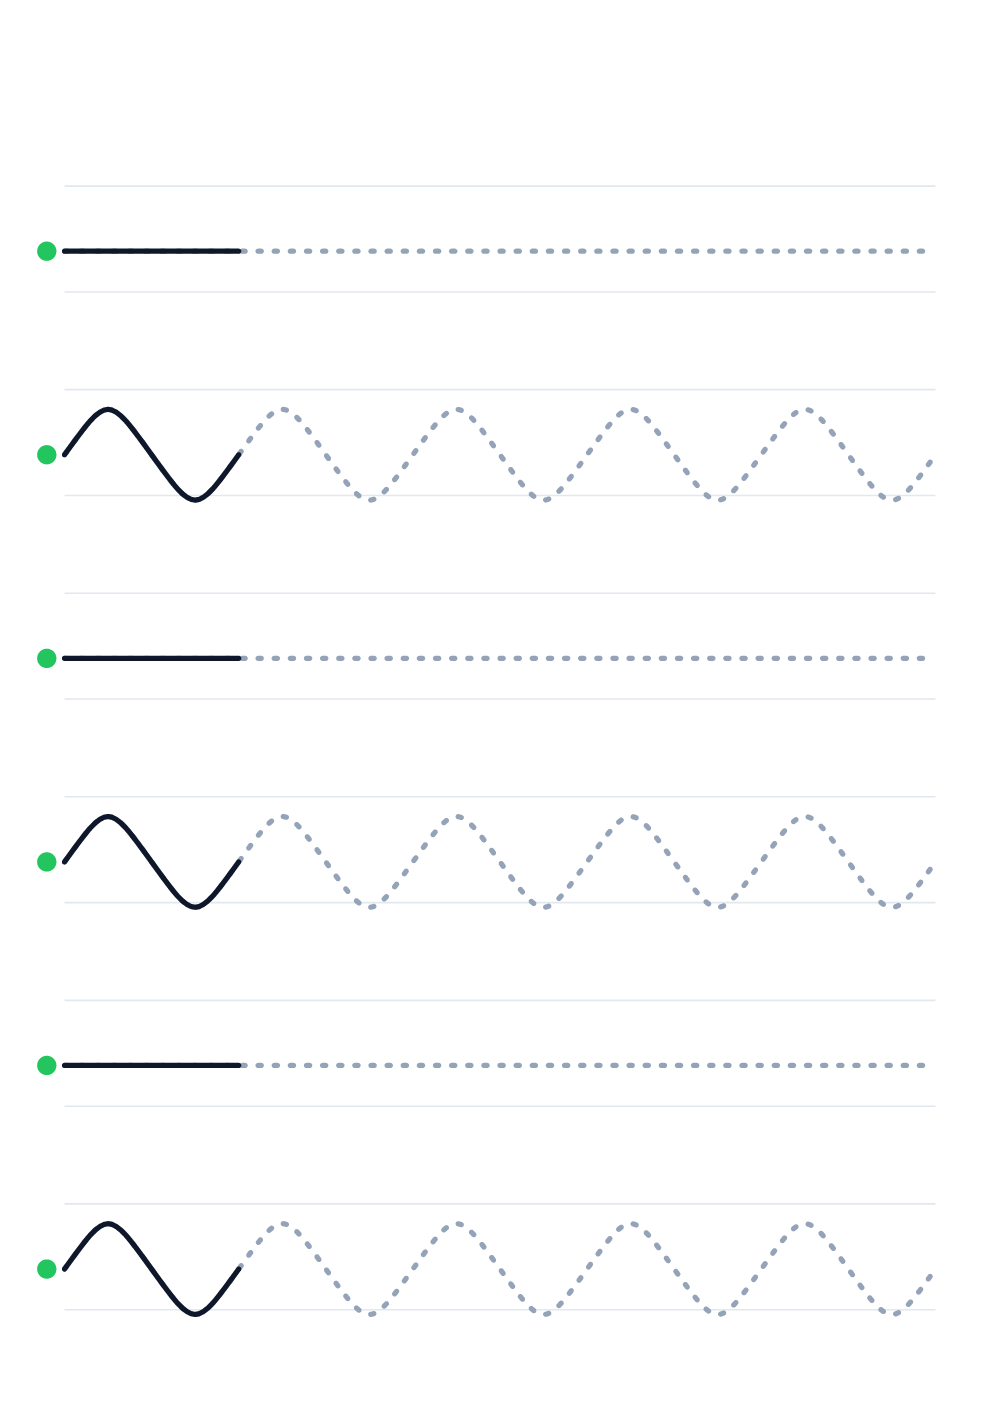
Printable tracing worksheets — where to start
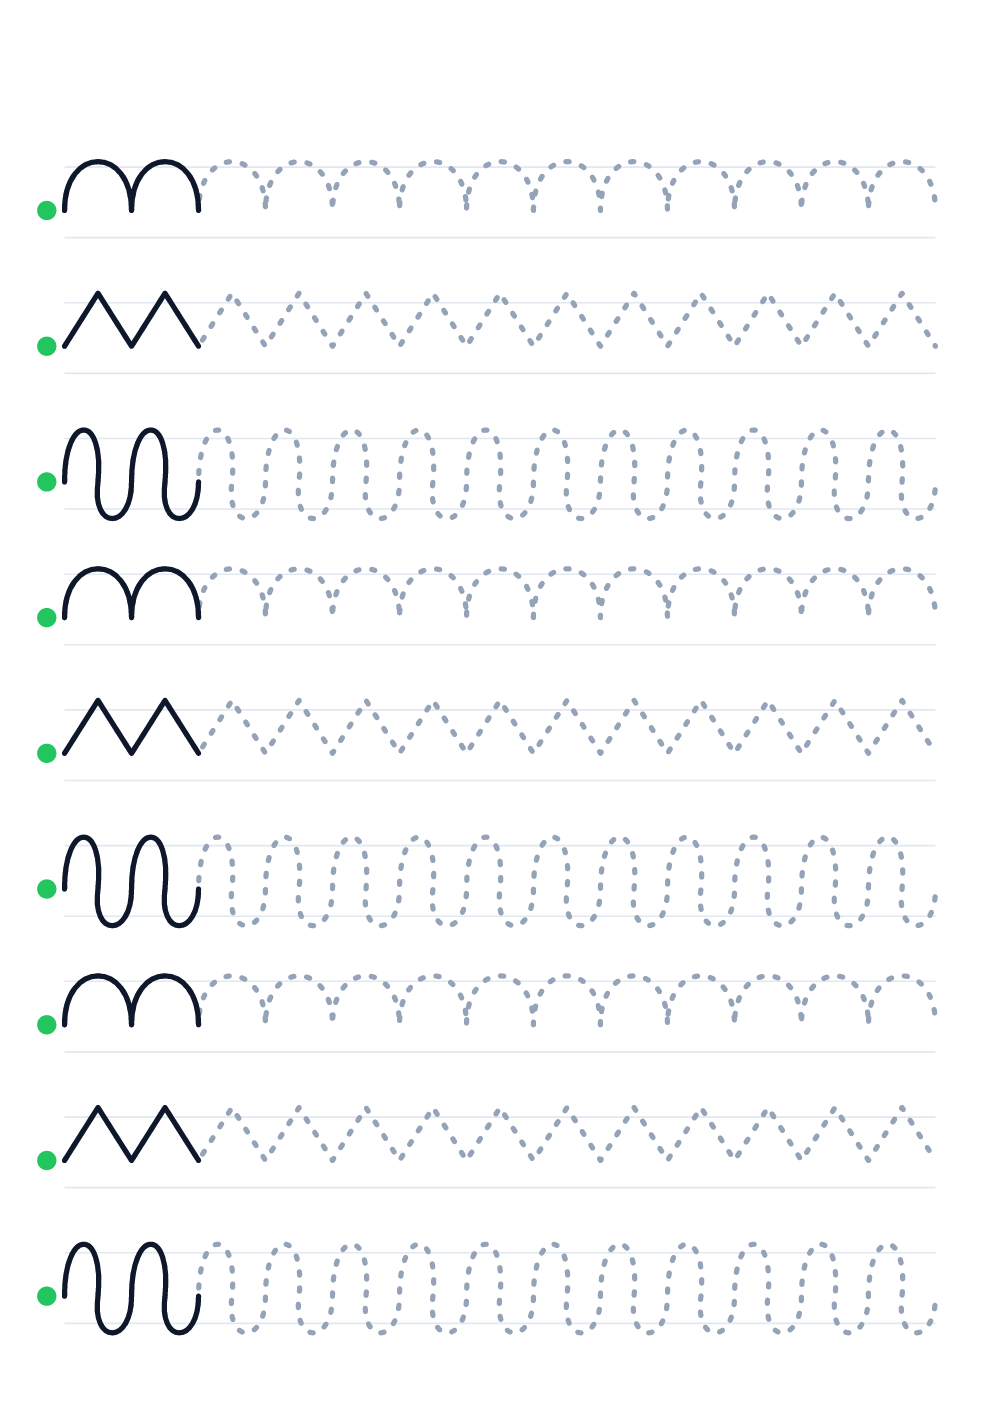
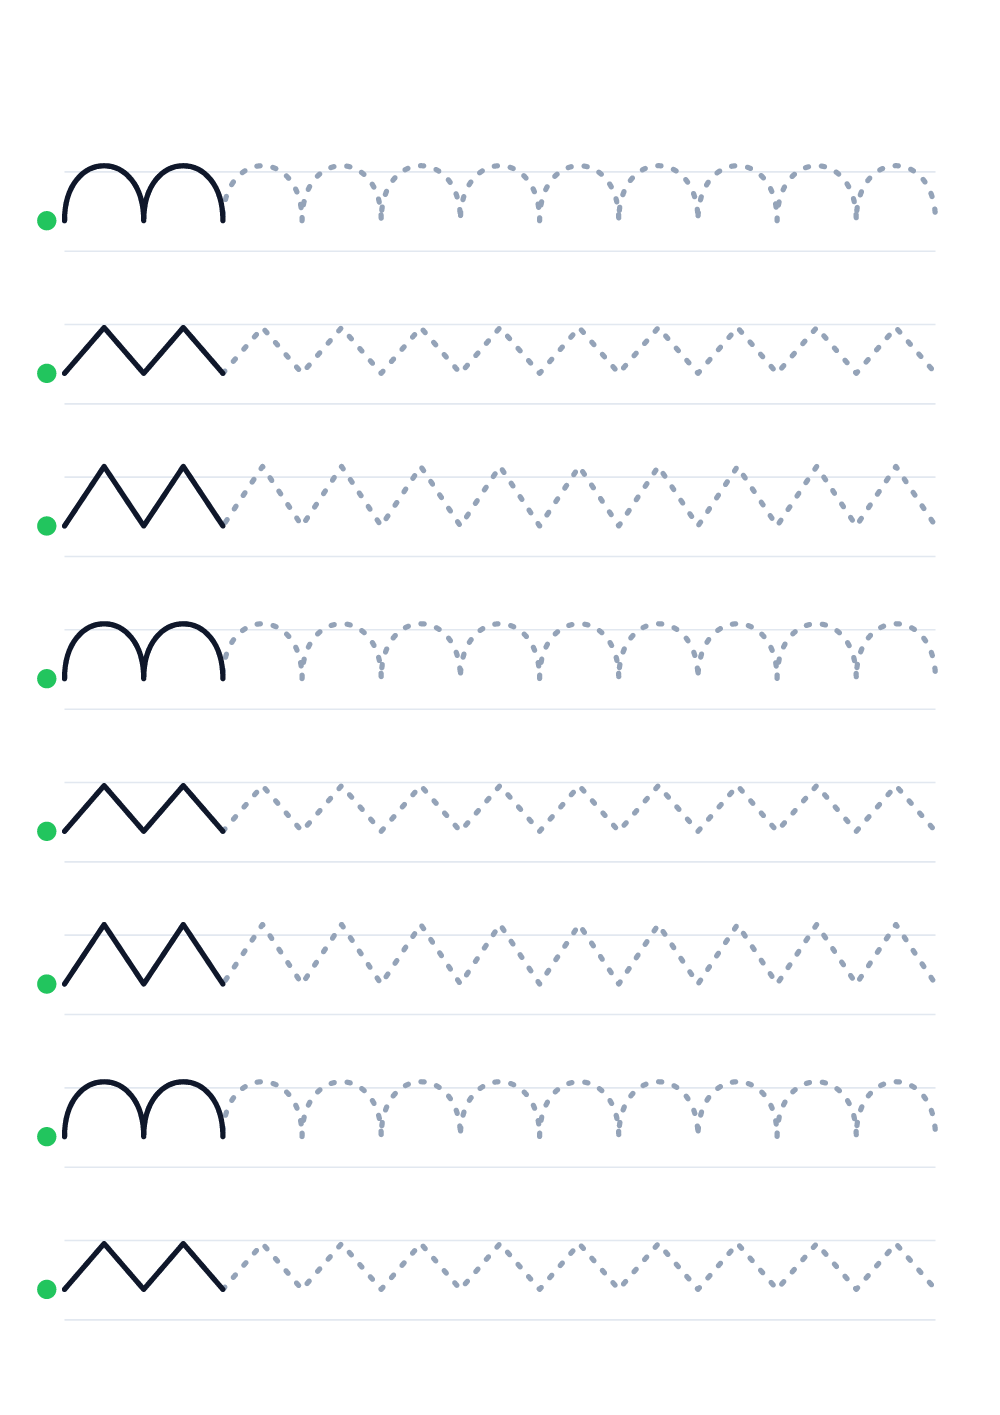
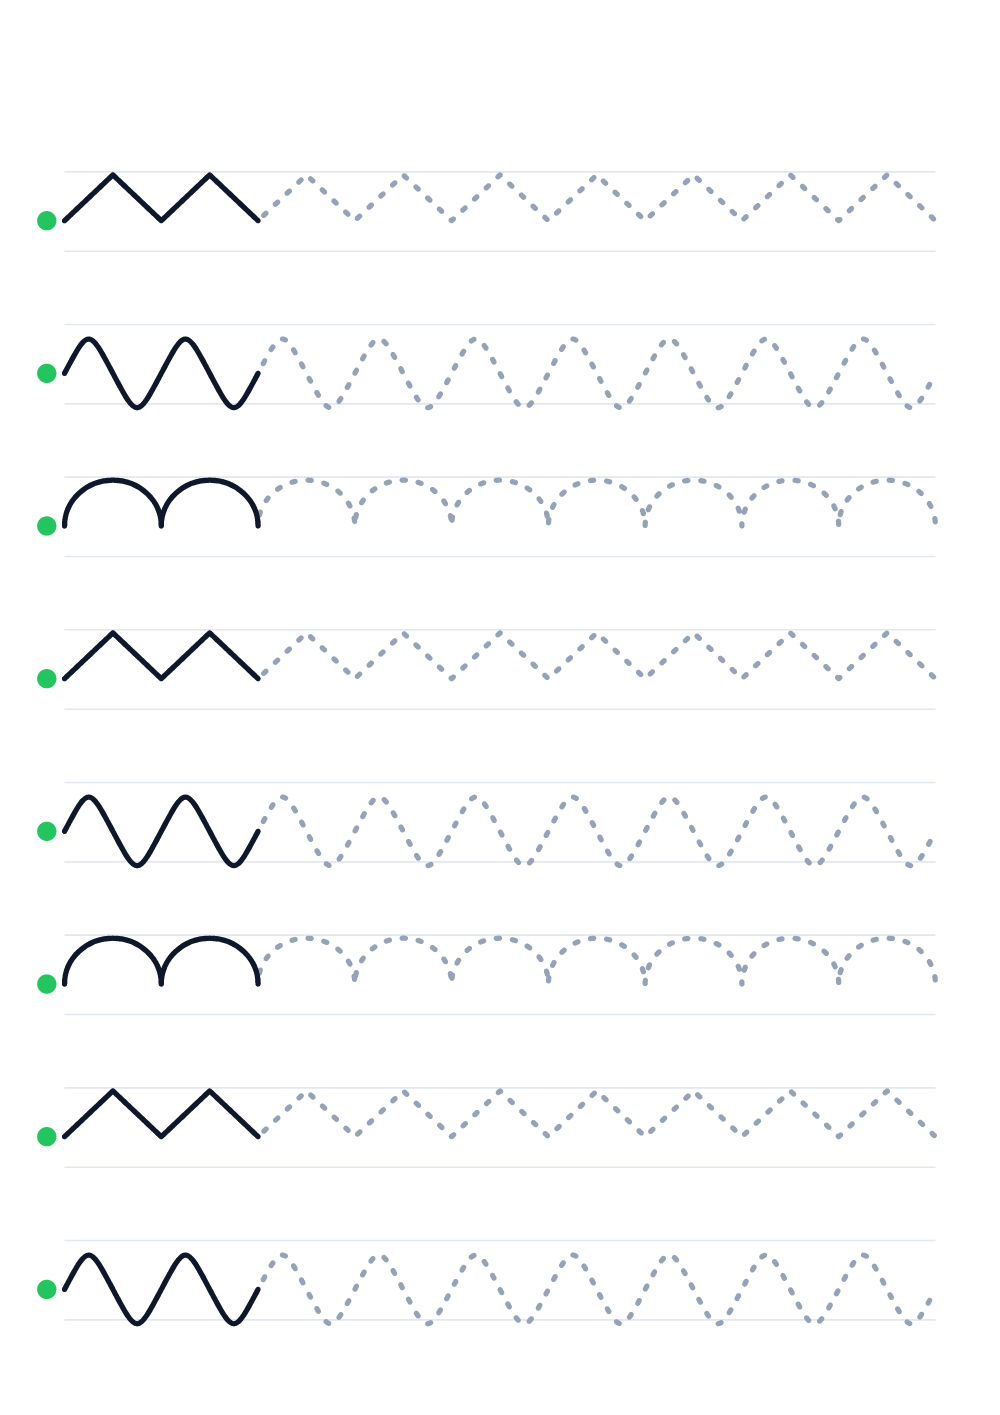
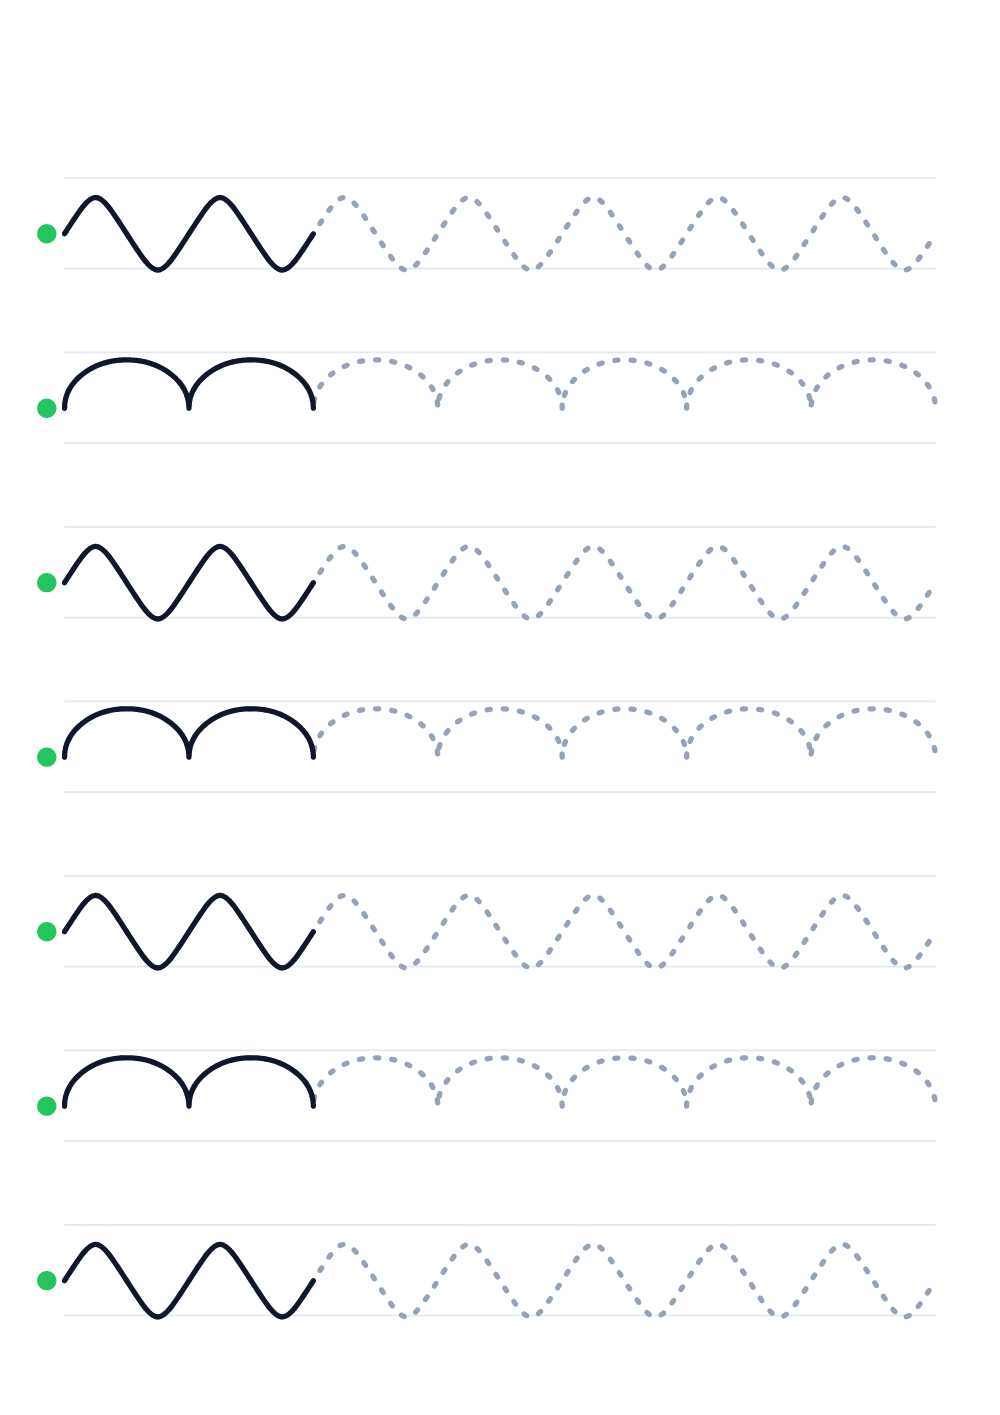
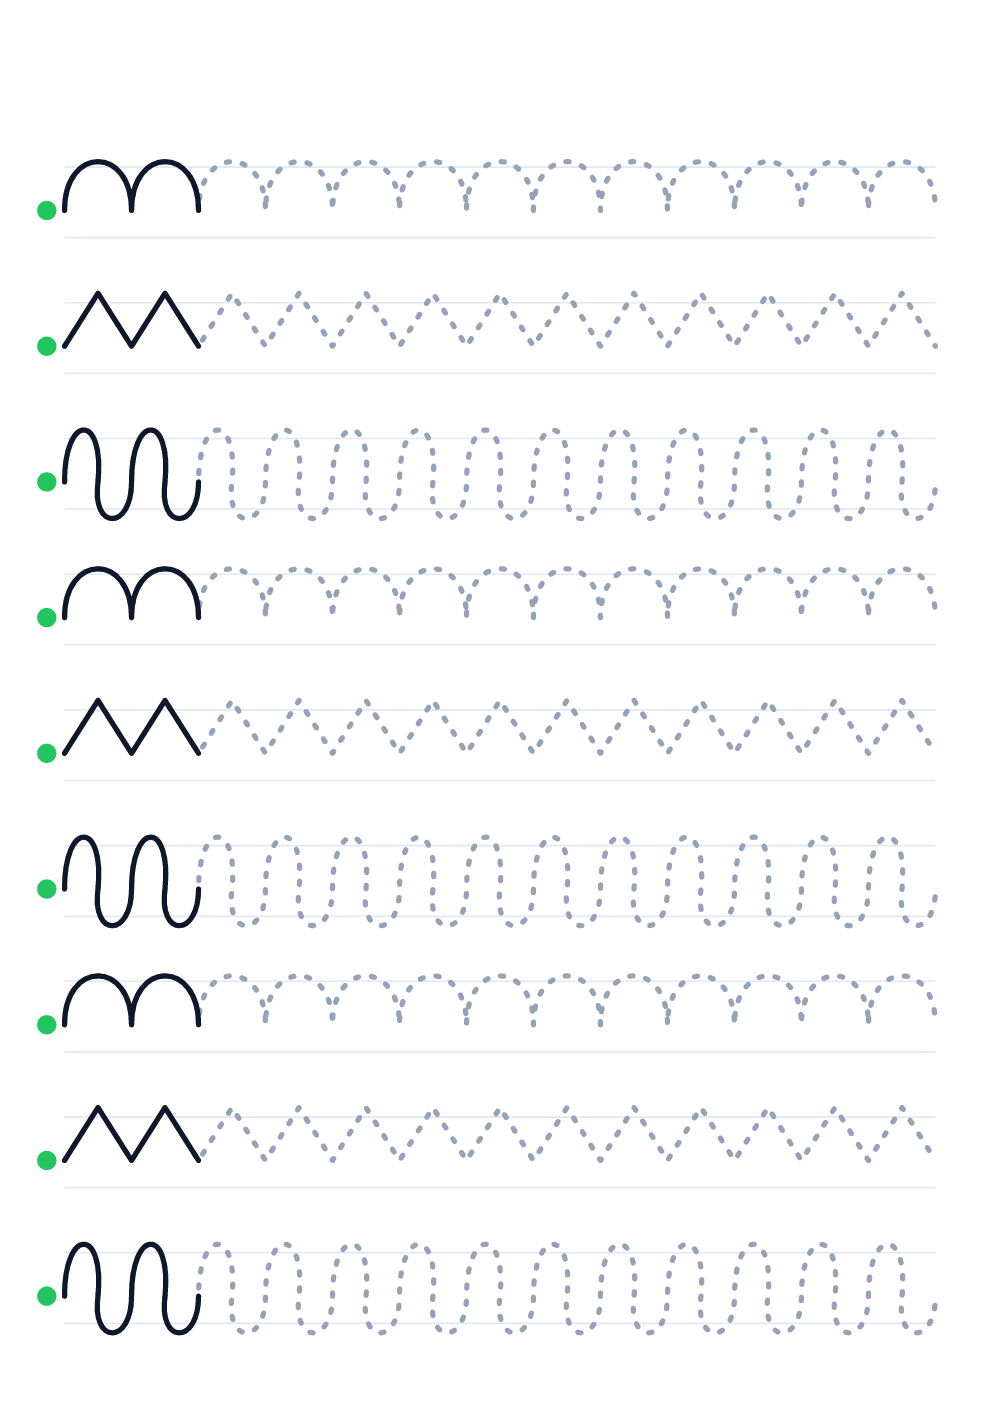
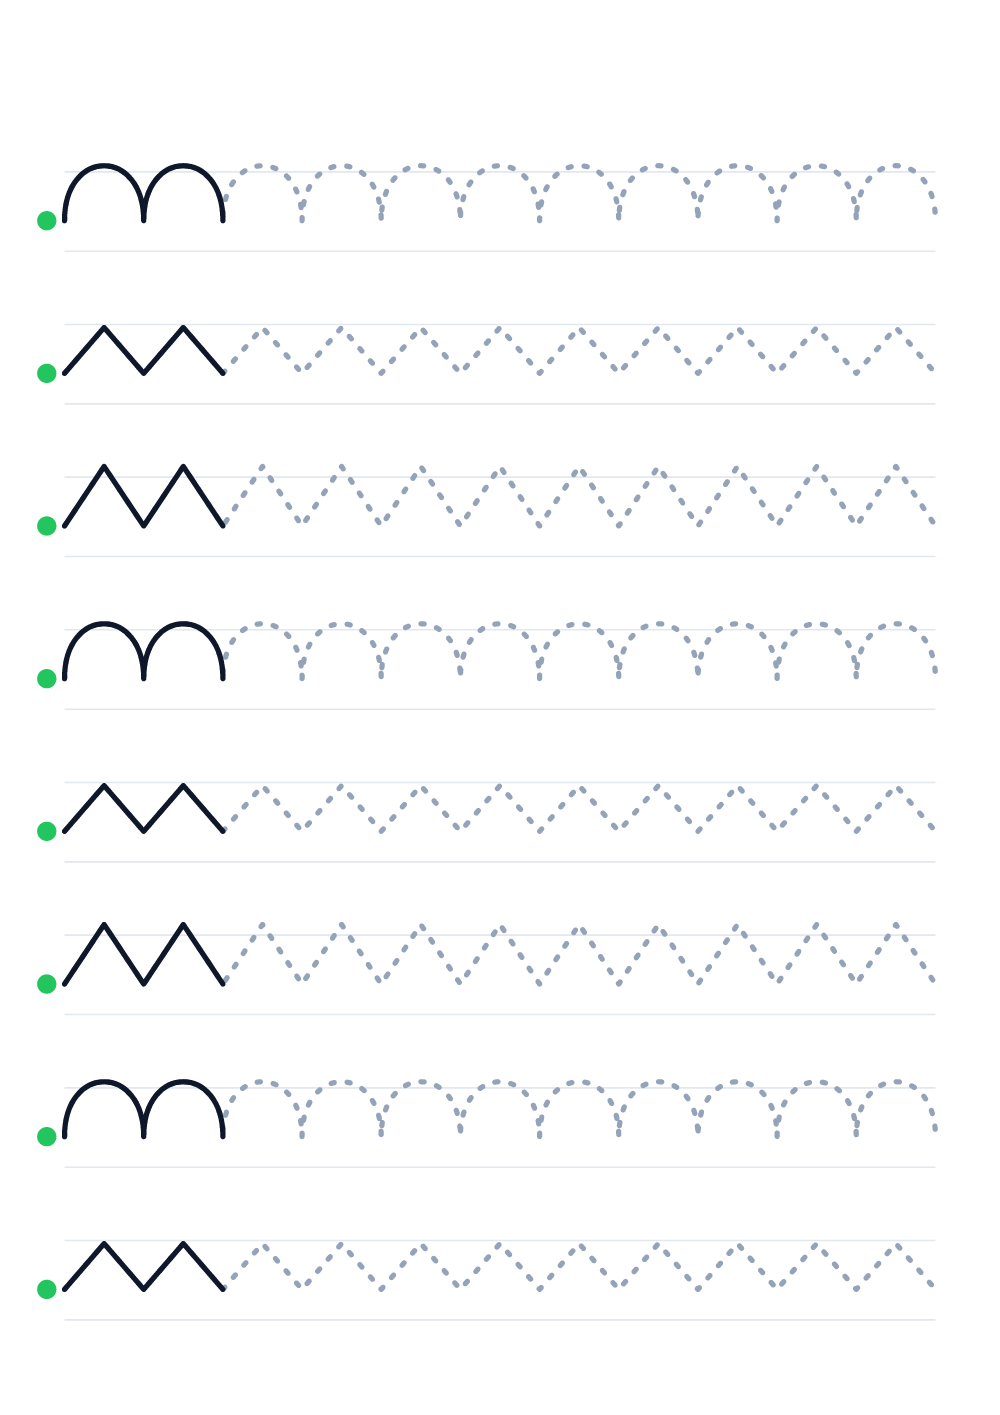
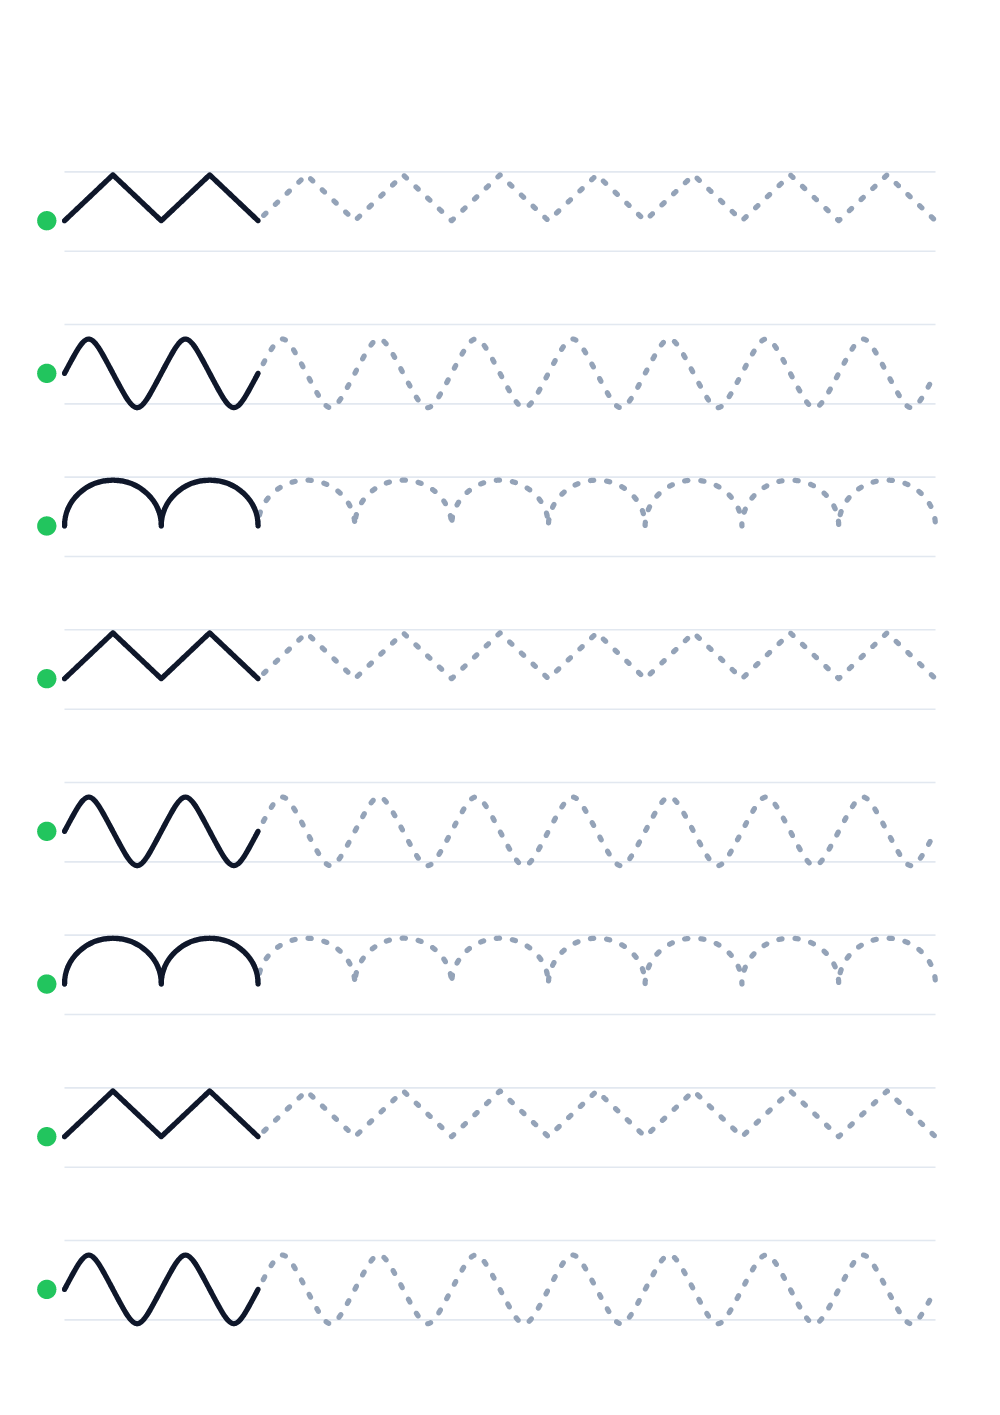
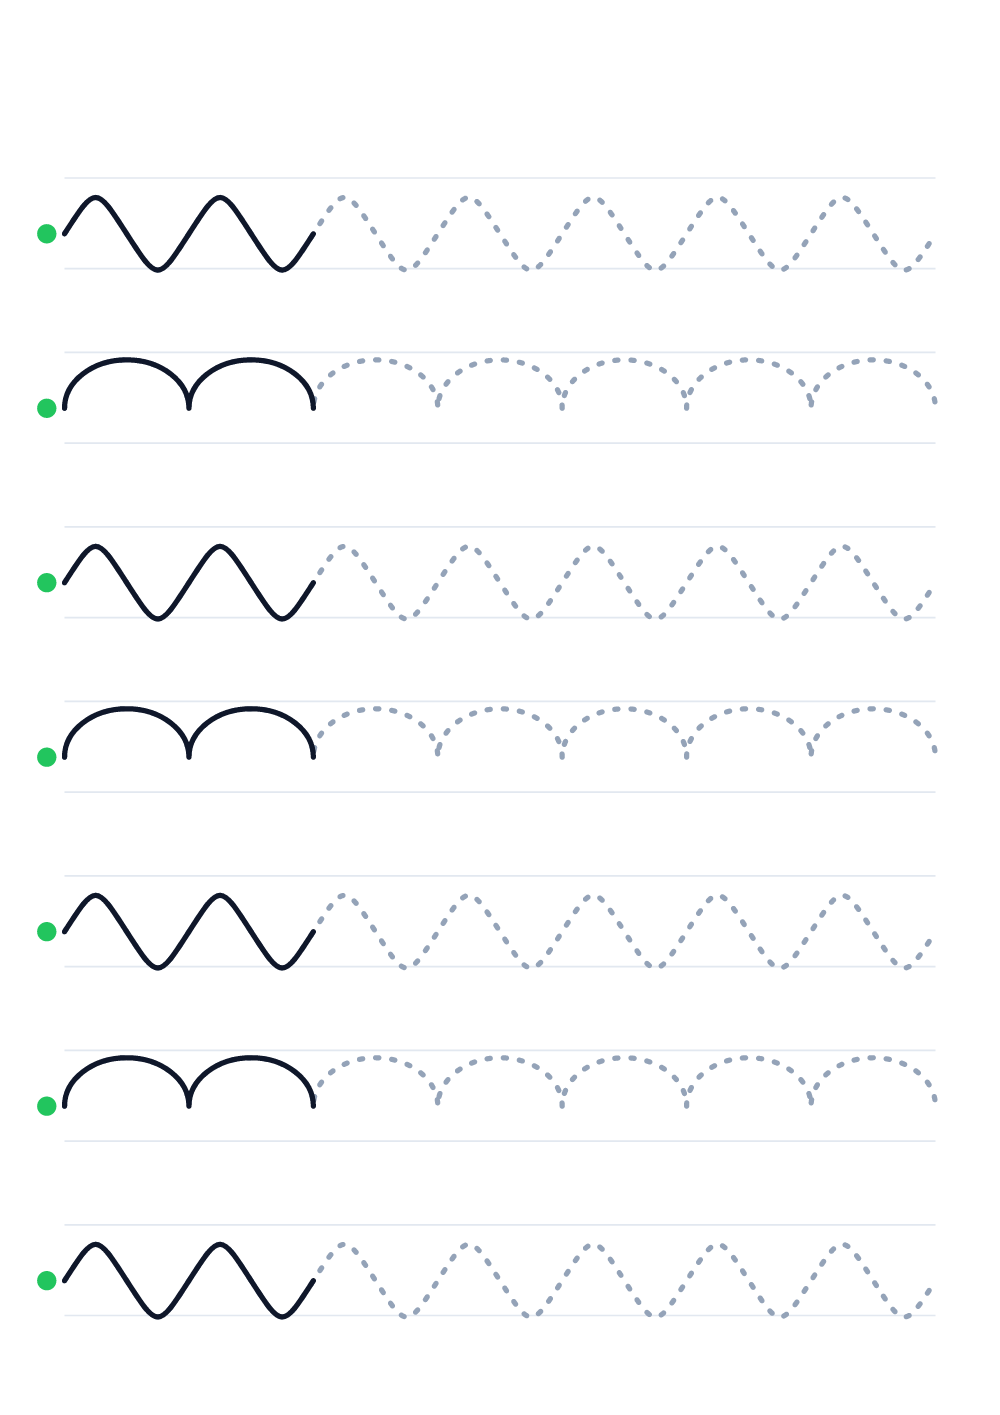
Tracing worksheets are the simplest way to get a child's hand ready for writing. The child follows a dotted line with a crayon or pencil: a straight line, a wave, a zigzag or a loop. Every repetition practises exactly what writing letters needs — a smooth wrist movement, control of pressure and moving the pencil from left to right.
All our tracing worksheets are free A4 pages you can print at home, in preschool or at school. No account is needed: pick a level, open a sheet and click “Print” or download the PDF.
Tracing worksheets for ages 2 to 8
The sheets come in five levels that follow how a child's hand develops:
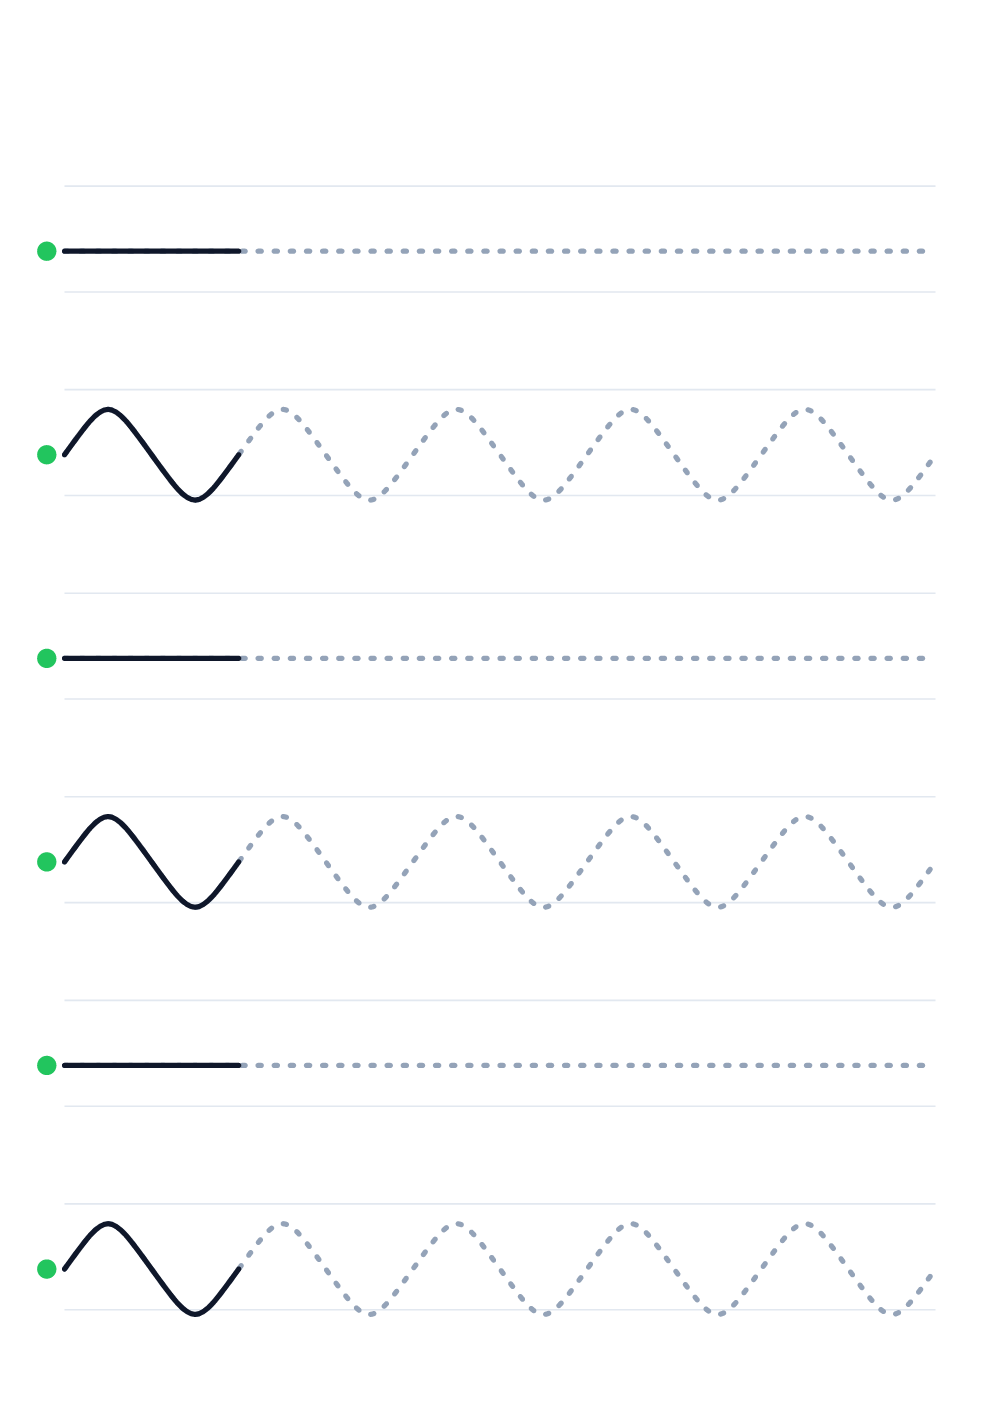
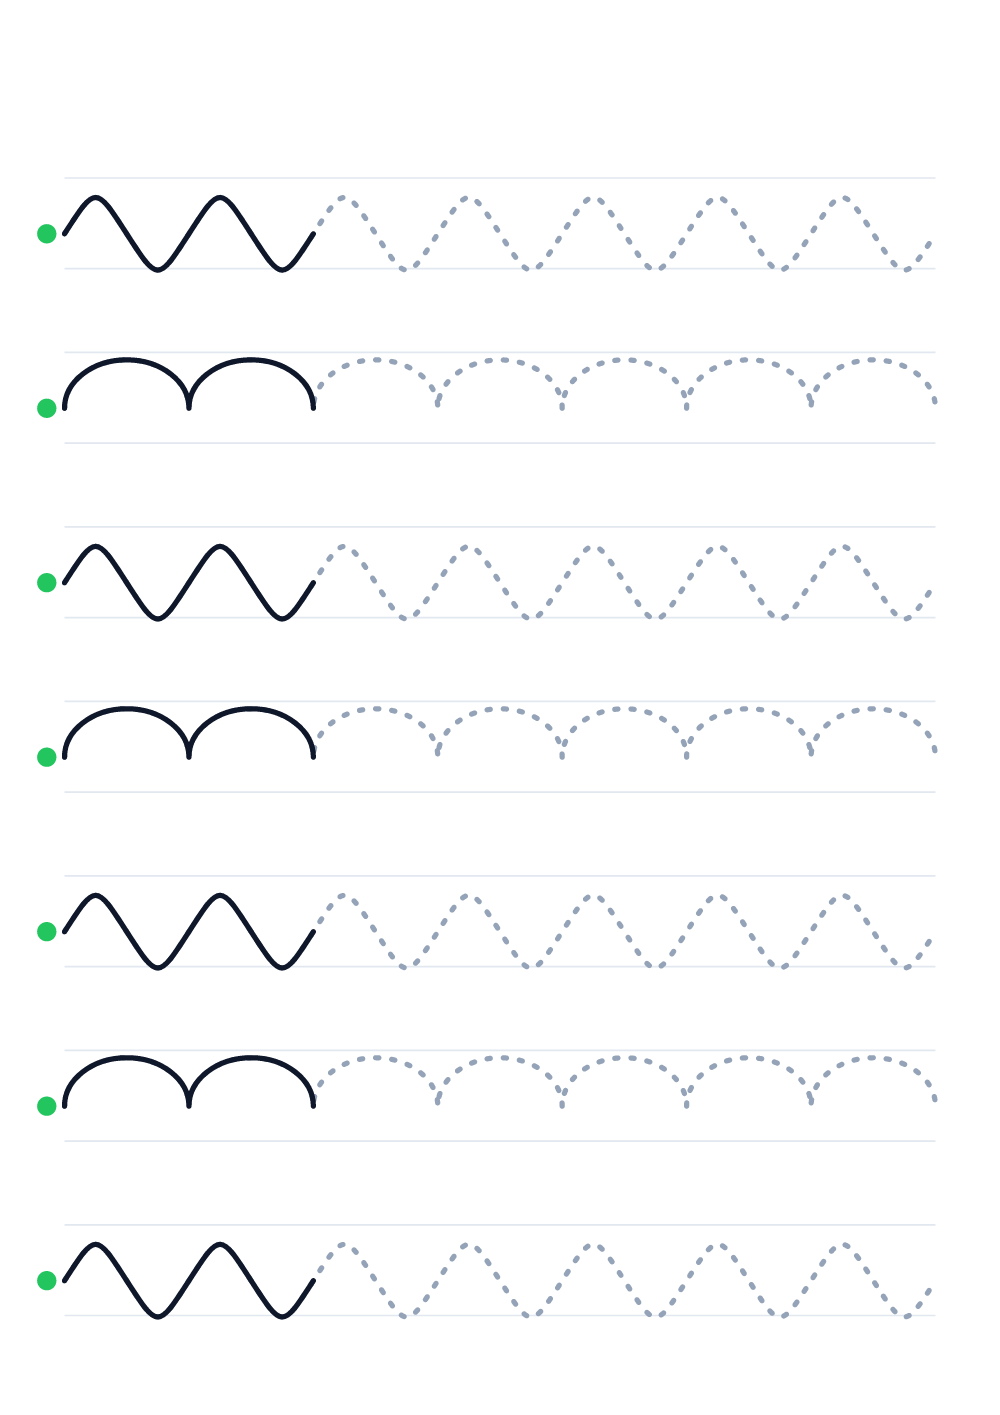
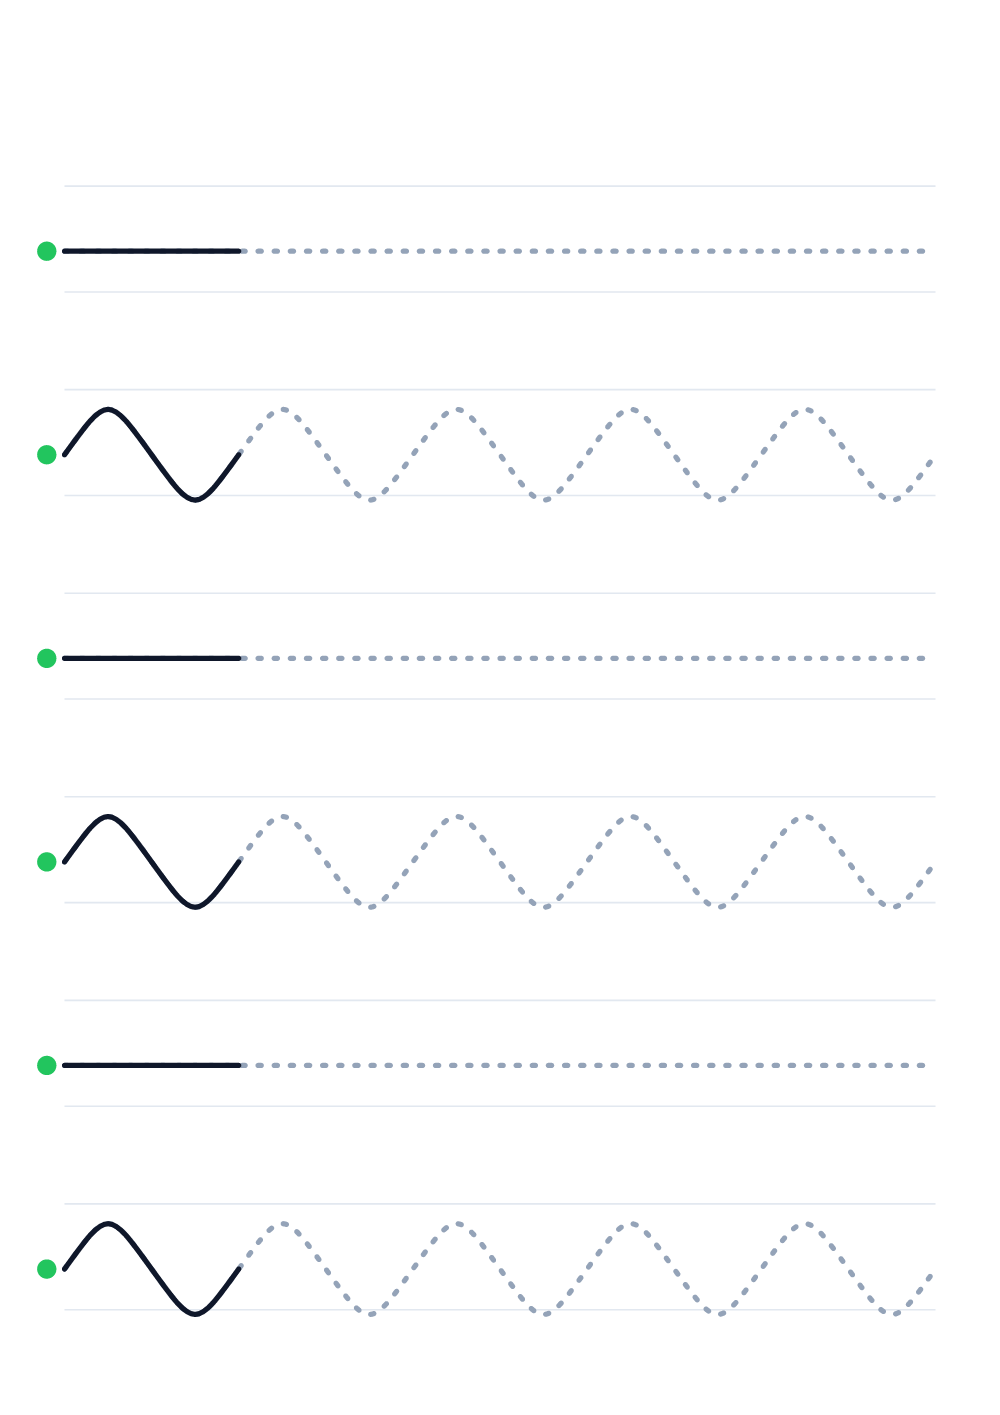
- Very easy (ages 2–3) — straight lines and big waves, only a few repeats per row. Good for first attempts, even with a chunky crayon held in the fist.
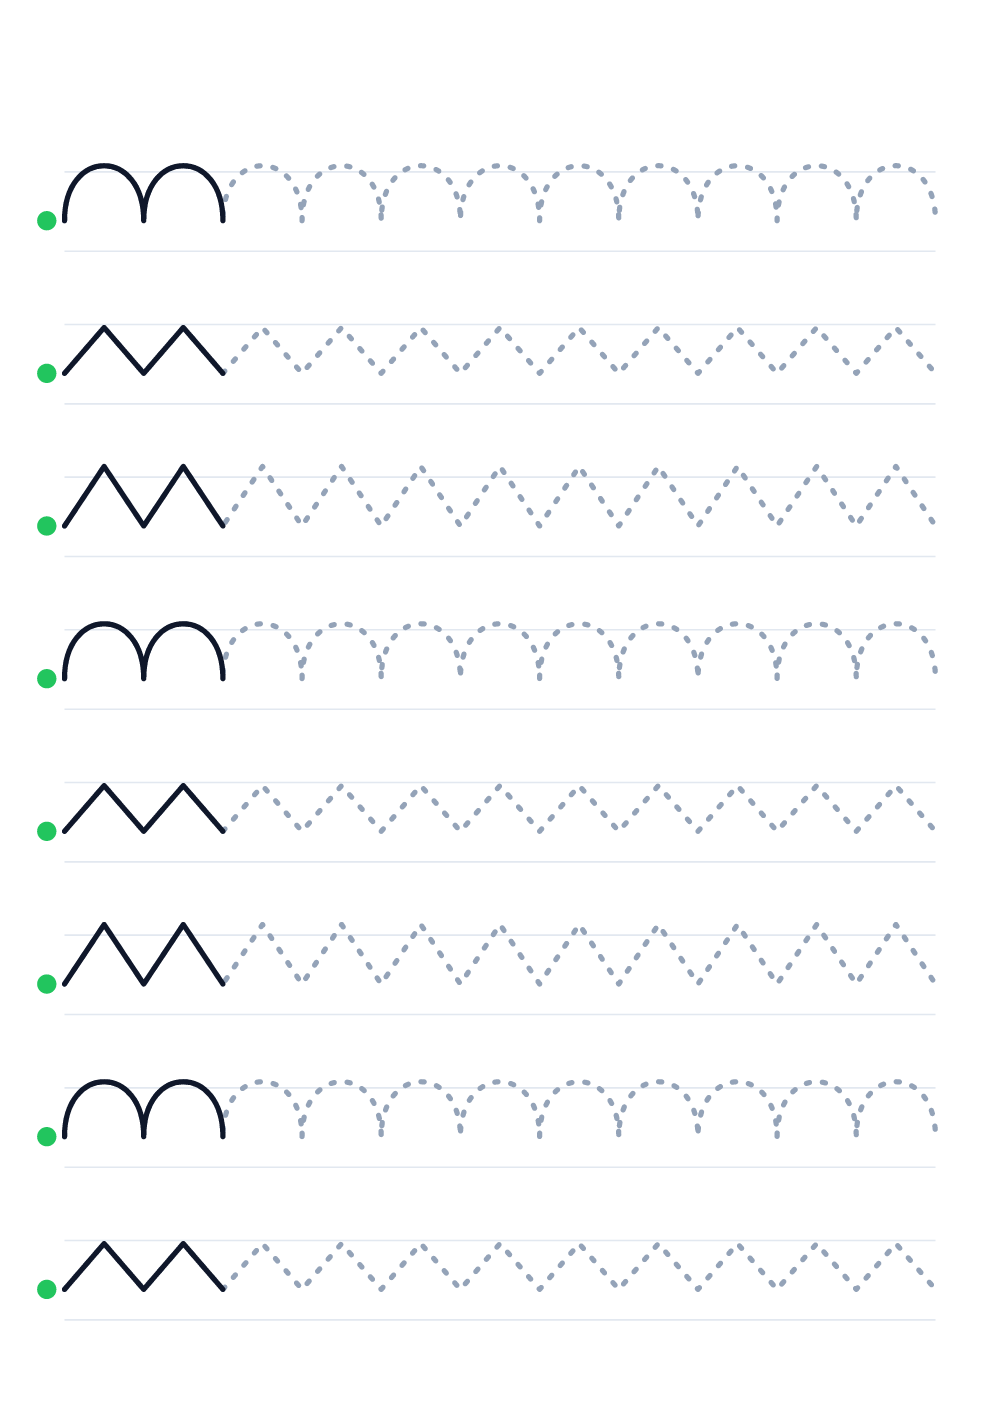
- Easy (ages 3–4) — smaller waves and arches. The child learns not to lift the crayon halfway through a pattern.
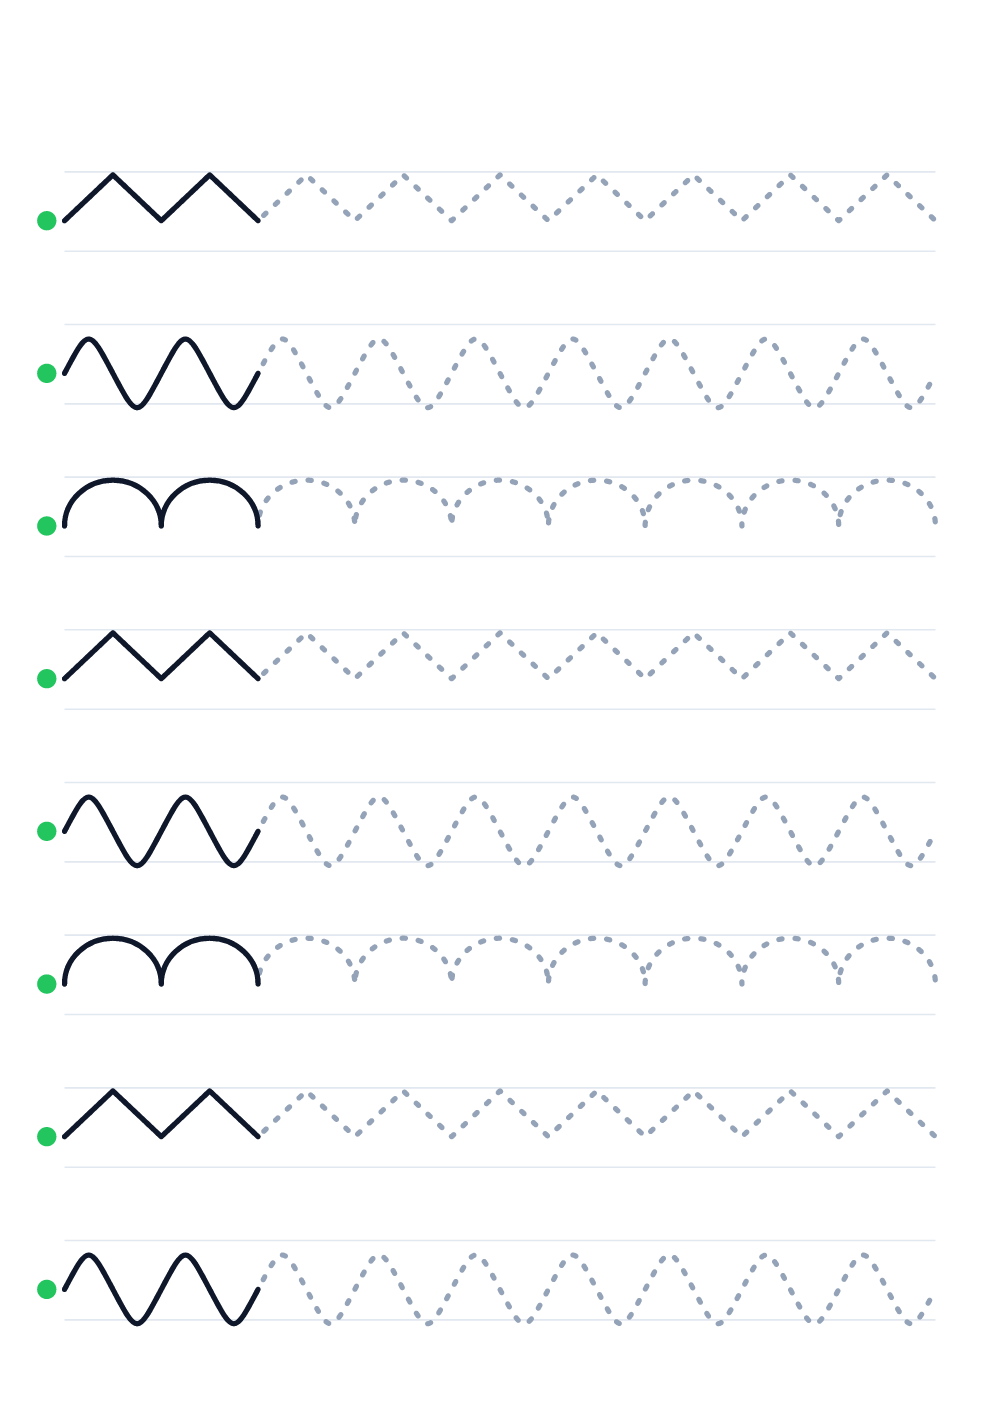
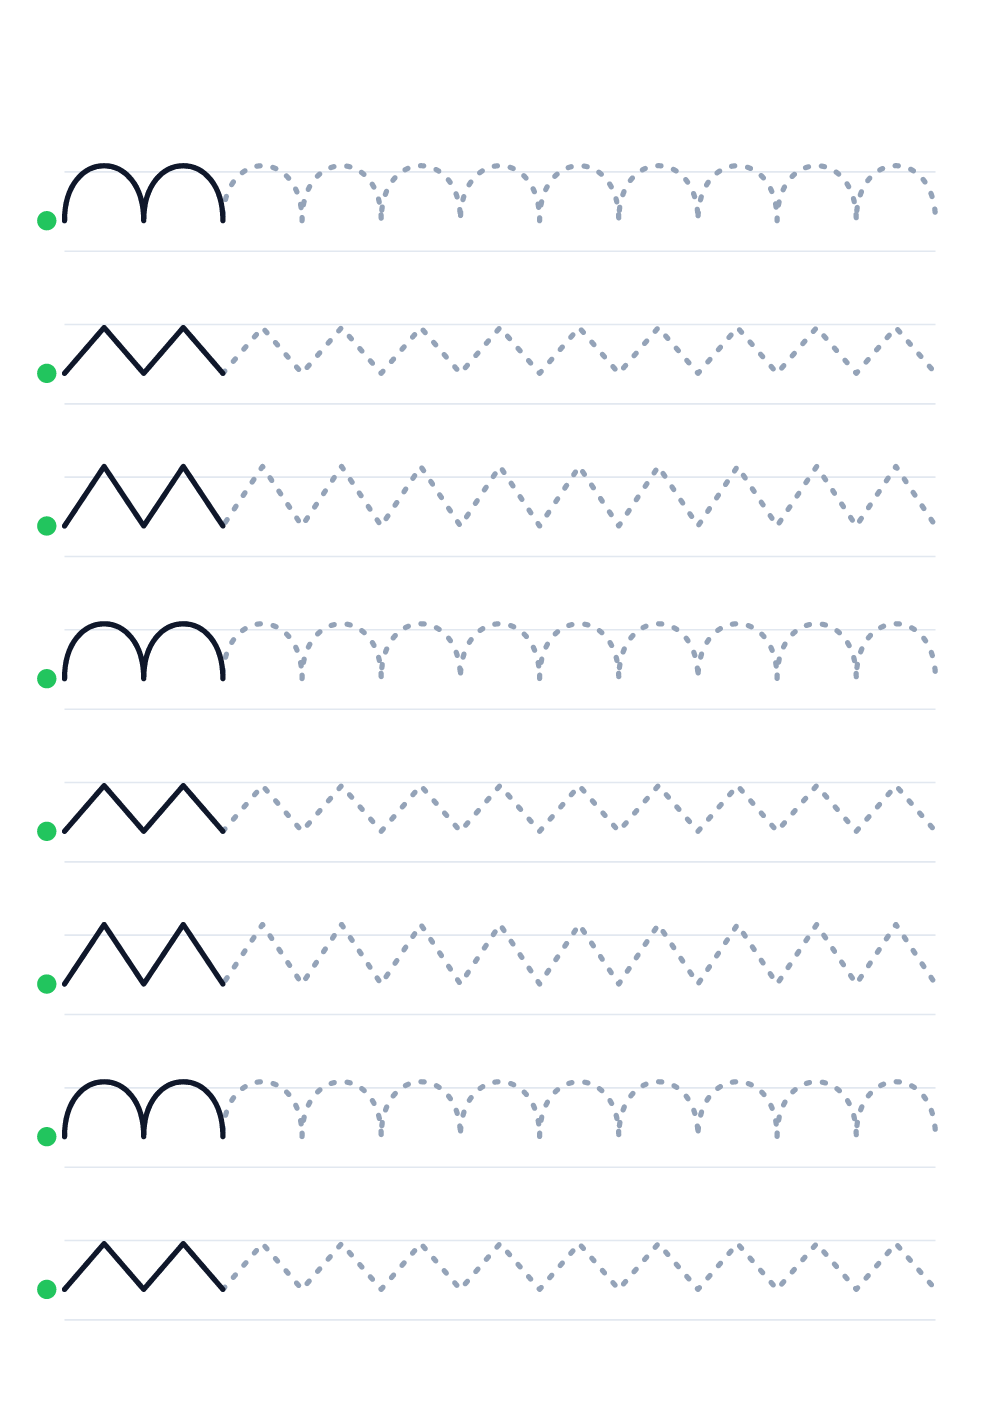
- Medium (ages 4–5) — zigzags, waves and arches on one sheet, to practise changing direction.
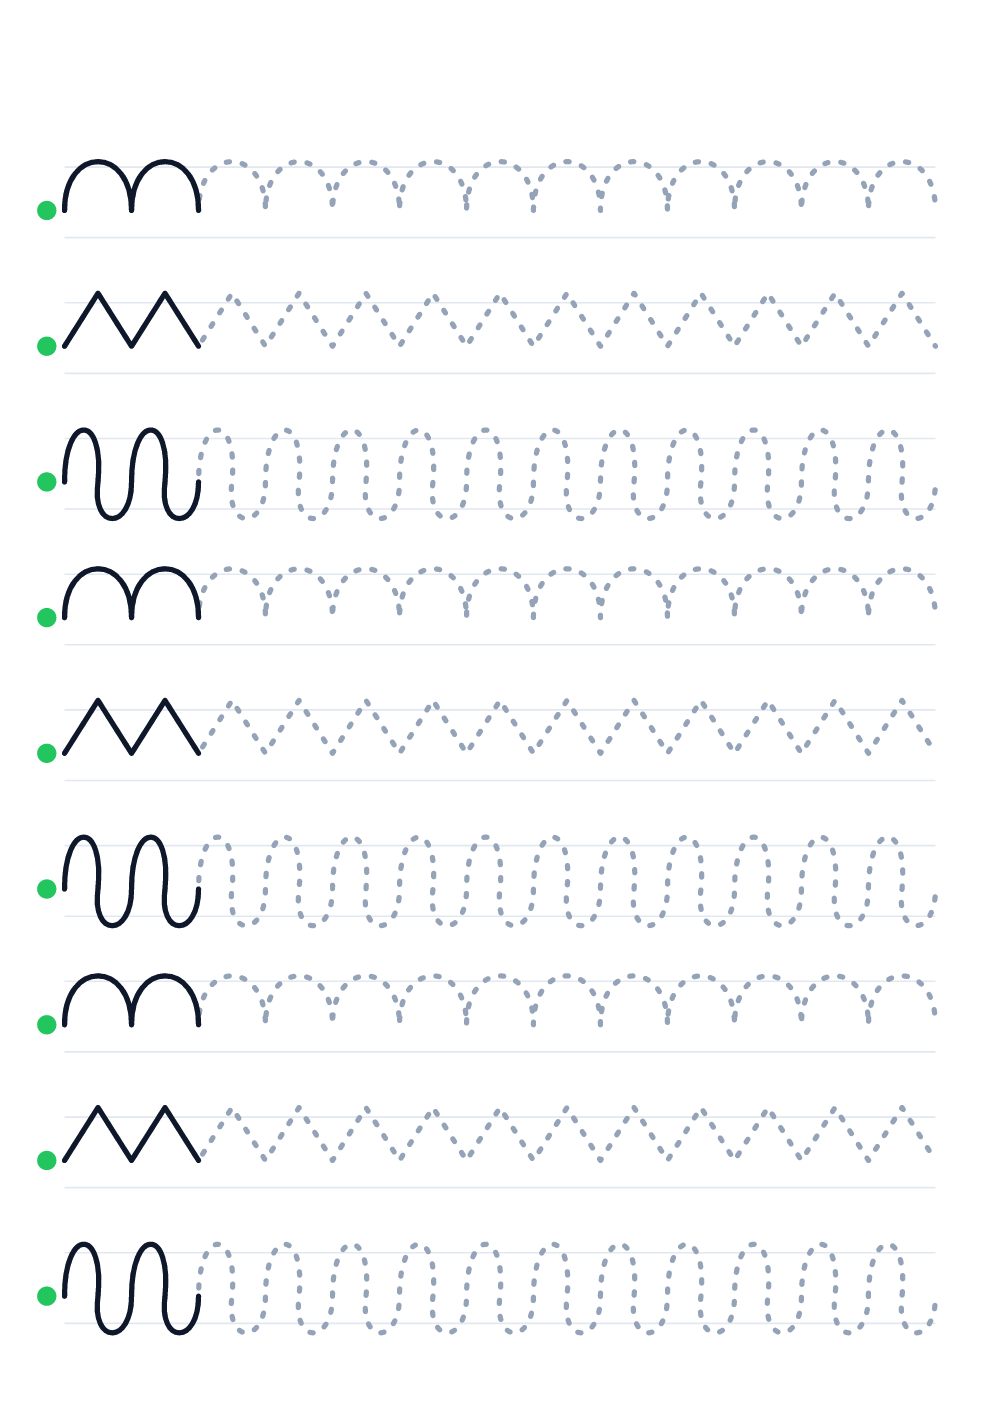
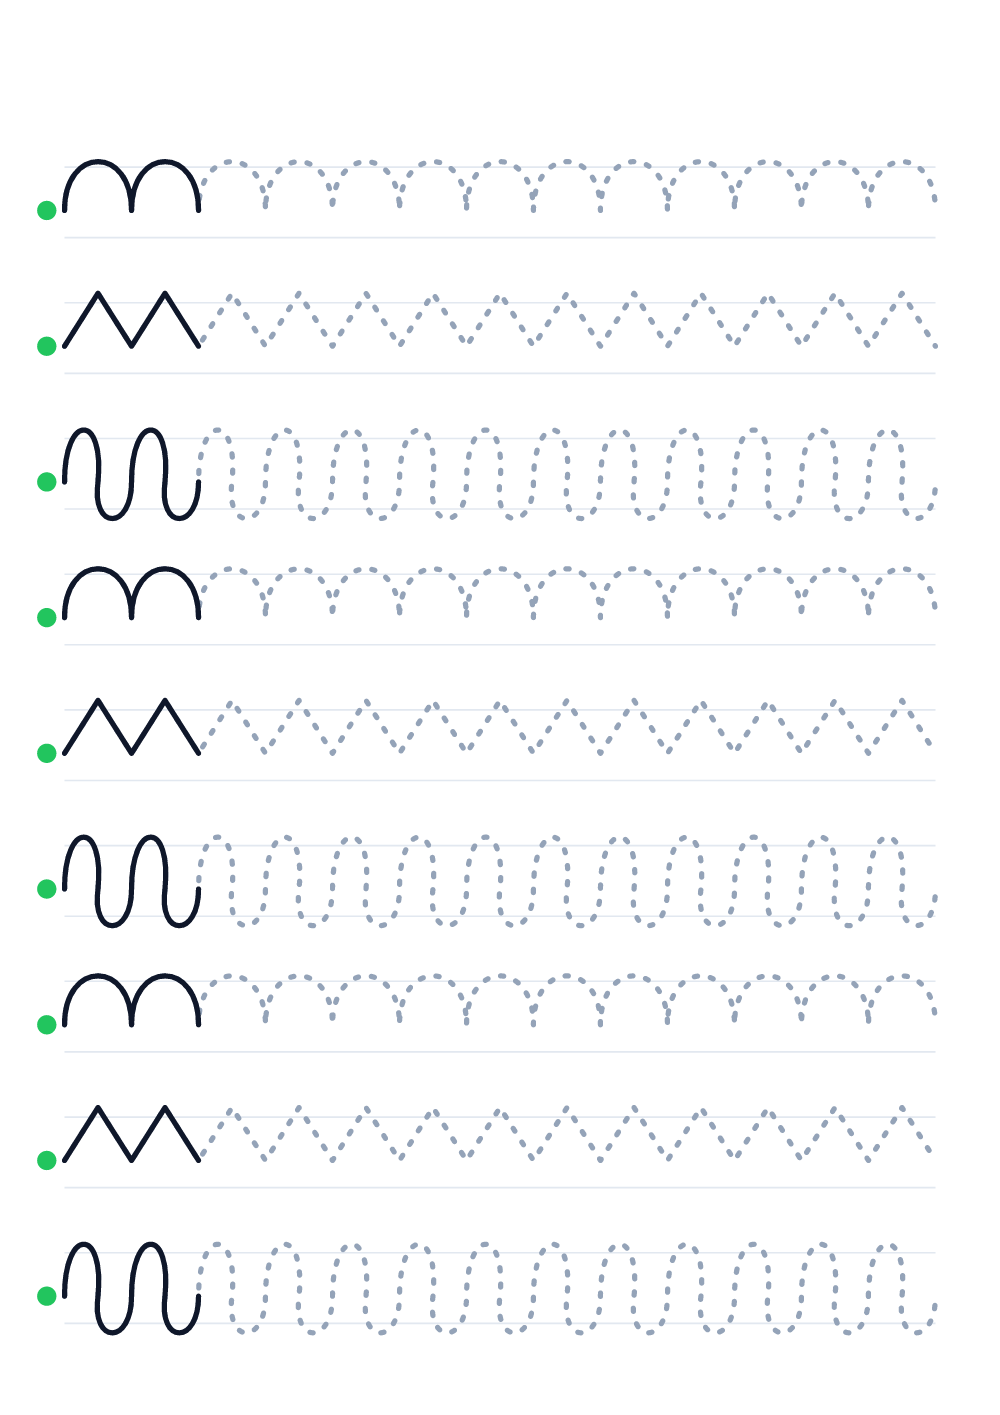
- Hard (ages 5–6) — loops, zigzags and sharp peaks, packed more closely. This prepares for letters such as l, e or w.
- Detailed (ages 6–8) — loops, peaks and double loops across many rows, for reception and first grade to build a fluent, joined-up movement.
The ages are only a guide. If your child keeps going off the line or gets frustrated, go back a level — finishing an easier sheet with success beats giving up on a harder one.
How to practise so it really works
- Little and often: 5–10 minutes a day does more than an hour once a week.
- Finger first: let your child trace the pattern with a finger, then with a crayon.
- Left to right: just like writing. The green dot at the start of each row shows where to begin.
- Don't correct every stroke: a smooth movement matters more than a perfect copy.
- Vary the tools: chunky crayon, pencil, felt-tip pen and, for older children, a fine liner.
- Reuse sheets: put a sheet in a plastic sleeve or laminate it and use a dry-erase marker.
Fine motor skills — why tracing helps
Tracing builds the hand skills a child needs for drawing and writing: hand–eye coordination (the eye guides the hand), precise finger and wrist movements, a good pencil grip, and rhythm and fluency of movement. Children often struggle with exactly these skills when they start school, which is why tracing is a regular part of preschool and reception classes.
If your child clearly struggles with grip, squeezes the crayon very hard or tires quickly, take a look at our “Special needs” section — it has fine-motor sheets with wider paths — and talk to a teacher or therapist.
Tracing in preschool and at home
Teachers can print one level for the whole group or different levels for children working at a different pace. At home, a “pattern of the day” works well — one sheet at breakfast or before story time. Every sheet is generated separately, so even within one level the patterns vary and children don't get bored repeating the same page.
Tips for parents & teachers
- 1Set your printer to A4 and 100% scale or actual size to keep patterns accurate.
- 2Print on heavier paper or laminate pages to reuse with dry-erase markers.
- 3Demonstrate first by tracing with your finger, then guide the child’s hand before letting them try alone.
- 4Keep sessions short (5–10 minutes) and raise difficulty gradually by combining sheets.